How To Set Up Apache Virtual Hosts on Linux
Published on Mon - 7th Aug 2017
4394 views
The Apache web server is the most popular way of serving web content on the Internet. It serves more than half of all of the Internet's active websites, and is extremely powerful and flexible.
In this guide, we will walk through how to set up Apache virtual hosts on a CentOS 7 VPS or Ubuntu 16.04.3 LTS.
This will also work for Ubuntu 17.04 or any Linux distributions like Mint or Fedora.
During this process, you'll learn how to serve different content to different visitors depending on which domains they are requesting i.e multiple websites and sub domains but on a single VPS machine.
So what are these Virtual hosts?
Before coming to that , lets see what is Virtual Hosting in the first place.
According to Wikipedia ,
Virtual hosting is a method for hosting multiple domain names (with separate handling of each name) on a single server (or pool of servers)
Well in simple terms , we can say that Virtual Hosts are used to run more than one domain off of a single IP address.
You are going to need this if you are planning or runing several sites off of one virtual private server.
Assumptions
Before you begin this tutorial, you should have a non root account with SUDO previliages
You will also need to have Apache installed in order to work through these steps. If you haven't already done so, you can get Apache installed on your server through apt-get if you are using Ubuntu , or you can also get it from yum
sudo apt-get update
sudo apt-get install apache2
or
sudo yum update
sudo yum install httpd
and then you should start it like this
sudo service httpd start
That’s it. To check if Apache is installed, direct your browser to your server’s IP address. The page should display the words “It works!"
01 — Create the Directory Structure
The first step that we are going to take is to make a directory structure that will hold the site data that we will be serving to visitors to our new site.
So right now are planning where we should put our ( Directory that forms the main document tree visible from the web
directory. Now from here we will create a directory here for the virtual hosts we plan on making.
Within each of these directories, we will create a public_html folder that will hold our actual files. This gives us some flexibility in our hosting.
For instance, for our sites, we're going to make our directories like this:
sudo mkdir -p /var/www/example-one.com/public_html
sudo mkdir -p /var/www/example-two.com/public_html
sudo mkdir -p /var/www/another-three.com/public_html
The portions in bold represent the domain names that we are wanting to serve from our VPS.
02 — Permissions , Grant them
Now we have the directory structure for our files, but they are owned by our root user. If we want our regular user to be able to modify files in our web directories, we can change the ownership by doing this:
sudo chown -R $USER:$USER /var/www/example-one.com/public_html
sudo chown -R $USER:$USER /var/www/example-two.com/public_html
sudo chown -R $USER:$USER /var/www/example-three.com/public_html
The $USER variable will take the value of the user you are currently logged in which is our non-root user with SUDO preveldges , The moment you press "ENTER" it will replace.
By doing this, our non-root user now owns the public_html subdirectories where we will be storing our content i.e CSS , HTML , JS and PHP Files e.t.c.
We should also modify our permissions a little bit to ensure that read access is permitted to the general web directory and all of the files and folders it contains so that pages can be served correctly:
sudo chmod -R 755 /var/www
Your web server should now have the permissions it needs to serve content, and your user should be able to create content within the necessary folders only , but they cannot navigate away and edit other files beyond that you 've permitted them.
03 — Create Demo Pages for Each Virtual Host
We have our directory structure in place. Let's create some content to display when our sites got visited.
We're just going for a demonstration, so our pages will be very simple. We're just going to make an index.html page for each site.
Let's start with example-one.com. We can get open up an index.html file in our editor by typing:
wget https://raw.githubusercontent.com/fadsel/hello/master/index.html
Do the same for other sites
Step Four — Create New Virtual Host Files
Virtual host files are what specify the configuration of our separate sites and provides a way for the Apache web server will respond to various domain requests.
To begin, we will need to set up the folders that our virtual hosts will be stored in, as well as the directory that tells Apache that a virtual host is ready to serve to visitors. The sites-available directory will keep all of our virtual host files, while the sites-enabled directory will hold symbolic links to virtual hosts that we want to publish. We can make both directories by typing:
sudo mkdir /etc/httpd/sites-availablesudo mkdir /etc/httpd/sites-enabled
Next, we should tell Apache to look for the introduced virtual hosts in the sites-enabled directory.
Now to do this , we want to edit Apache's main configuration file and add a line to declare optinal directories:
sudo nano /etc/httpd/conf/httpd.conf
Go to the bottom of the file and Add this line :
IncludeOptional sites-enabled/*.conf
Save and close the file when you are done adding that line. We are now ready to create our first virtual host file.
Creating Our First Virtual Host File
Start by opening the new file in your editor with root privileges:
sudo nano /etc/httpd/sites-available/example.com.conf
First, start by making a pair of tags designating the content as a virtual host that is listening on port 80 (the default HTTP port): "Assume the tag looks like below through out the article "
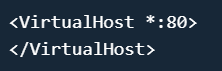
through Out the article , the tags are going to look like this , but we are planning to fix it soon :)
VirtualHost *:80>
/VirtualHost>
Next we'll declare the main server name, www.example-one.com. We'll also make a server alias to point to example-one.com, so that requests for www.example-one.com and example-one.com deliver the same content:
VirtualHost *:80>
     ServerName www.example-one.com
     ServerAlias example-one.com
/VirtualHost>
Note: Make sure you point www and non-www on your DNS server i.e A Record
Finally, we'll finish up by pointing to the root directory of our publicly accessible web documents. We will also tell Apache where to store error and request logs for this particular site:
VirtualHost *:80>
     ServerName www.example.com
     ServerAlias example.com
     DocumentRoot /var/www/example-one.com/public_html
     ErrorLog /var/www/example-one.com/error.log
     CustomLog /var/www/example-one.com/requests.log combined
/VirtualHost>
Frankly , you do not need the ErrorLog and CustomLog for it to work, We only included it so that we can track error arised from the individual virtual host , So When ready writing out these lines , save & close the file.
Now do the same for the other domains.
Step Five — Create Shortcuts to enable the New Virtual Host Files
Now that we have created our virtual host files, we need to enable them , as in we need to create the shotcuts to the files so that Apache knows to serve them to visitors.
To do this, we can create symbolic links for each virtual host in the sites-enabled directory:
sudo ln -s /etc/httpd/sites-available/example-one.com.conf /etc/httpd/sites-enabled/example-one.com.conf
sudo ln -s /etc/httpd/sites-available/example-two.com.conf /etc/httpd/sites-enabled/example-two.com.conf
When you are finished, restart your Apache Service to make these changes take effect:
sudo apachectl restart
Step Six — The moment of truth
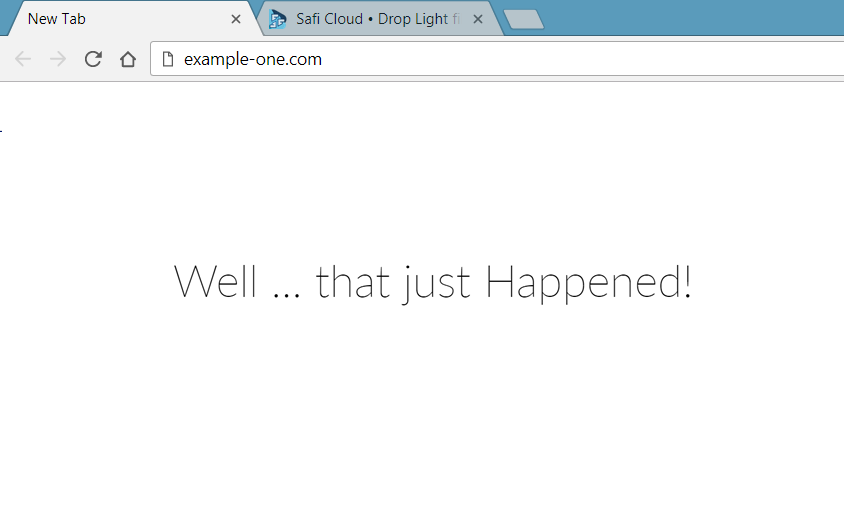
You might want to wait for a couple of hours if you 've just purchased your domain or you 've just added a new A Record, Launch your Favorite browser and navigate to http://example-one.com
Sponsored Ad